Deutsch
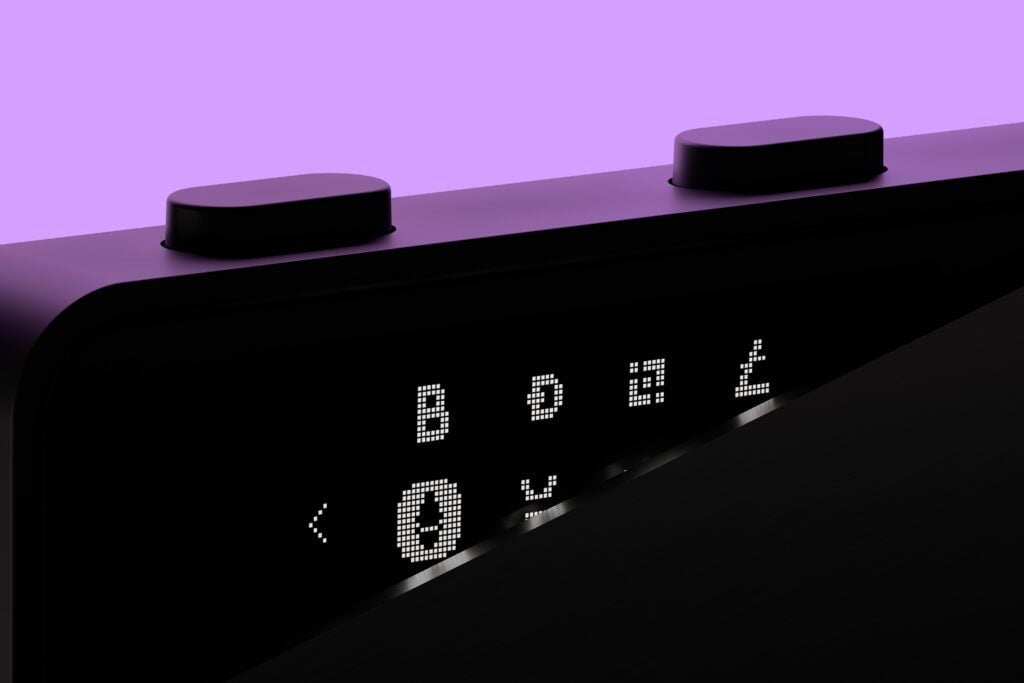
The new Ledger Nano S Plus Wallet is finally here. The hardware wallet promises maximum security at a fair price of around 89 francs. But how does the Ledger Nano S Plus Wallet perform in the test?
LEDGER NANO S PLUS: the First Impression
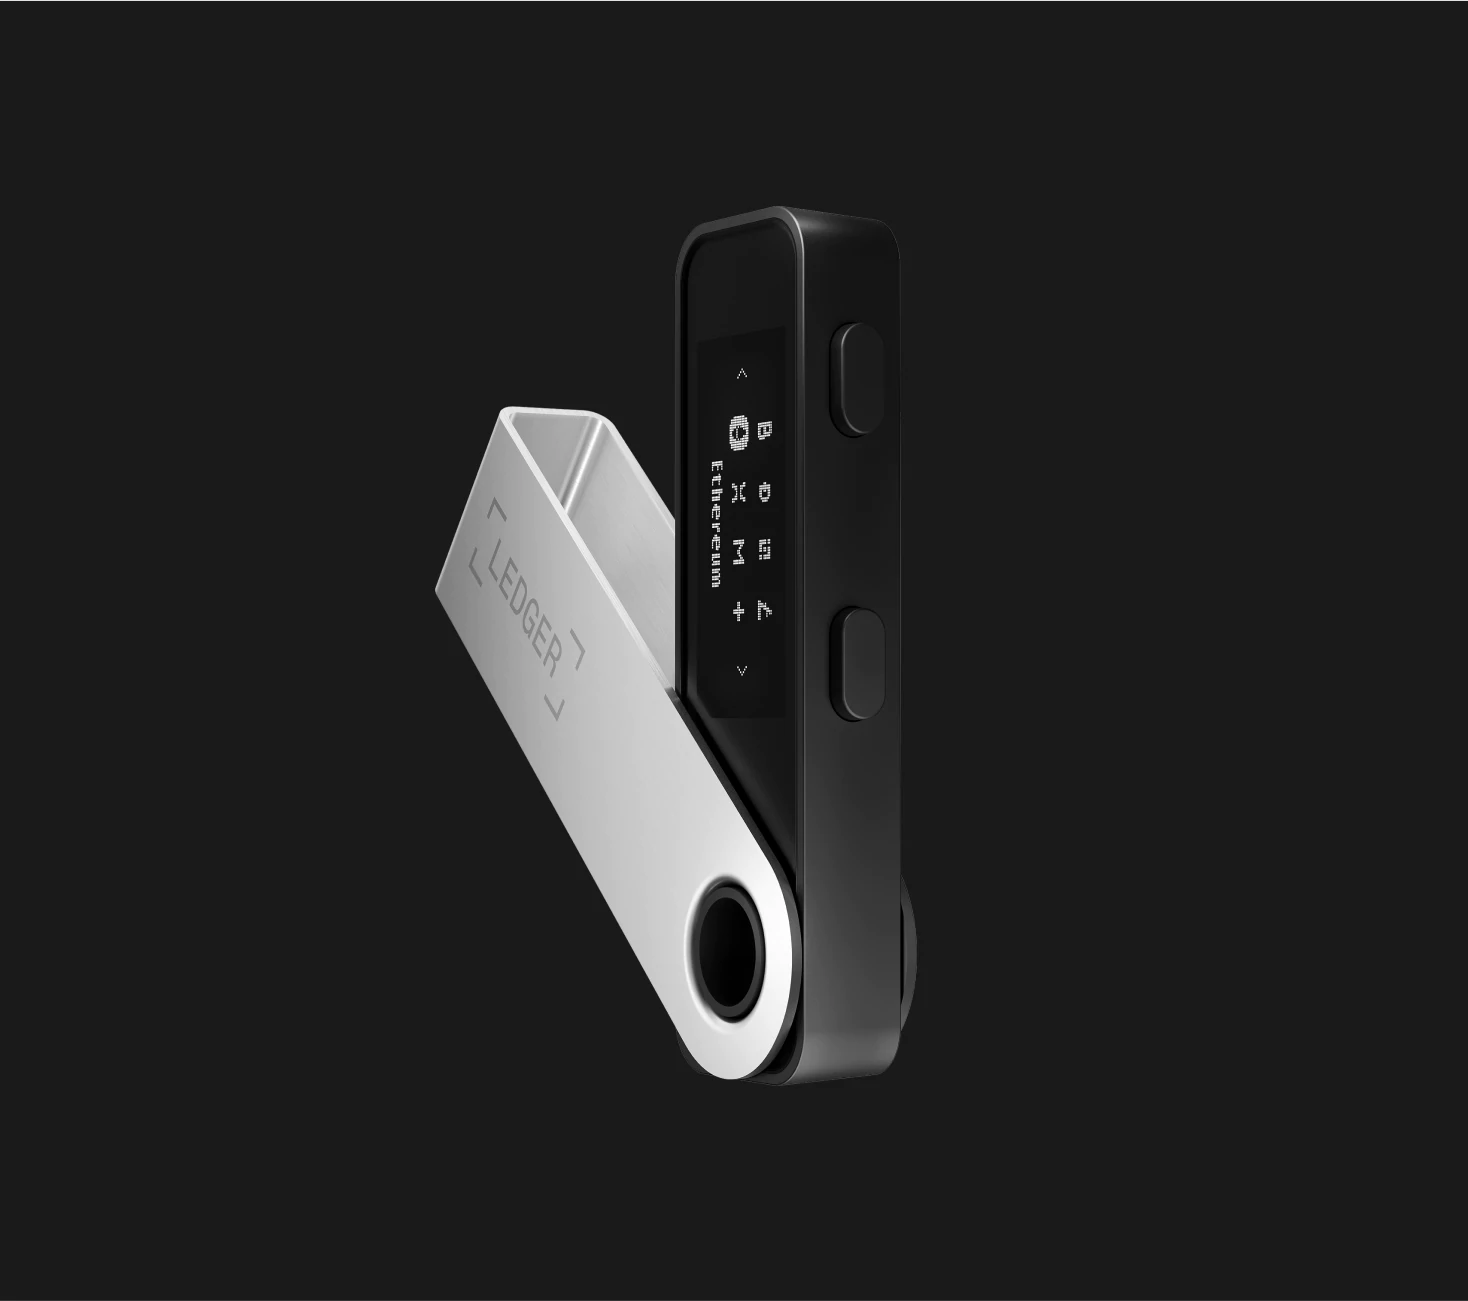
Anyone who has already used the LEDGER NANO S wallet will not be surprised by the first impression of the Nano S Plus Wallet. As with the previous models, it is a hardware wallet in a USB stick design with a metal housing that can be moved.
The scope of delivery includes:
- The Ledger Nano S Plus Wallet
- 1 keychain
- 1 USB-C cable
- Ledger sticker
- Secret Recovery Sheet (for noting the Secret Phrase)
The first impression is high-quality. The price of around 89 francs is definitely noticeable in this case. The display also makes a high-quality impression at first glance and appears larger than the previous model.
Order the Nano S Plus Ledger now in the official Ledger shop for Switzerland.
Security: how Secure is the Ledger Nano S plus Wallet?
Hardware wallets are more secure than software wallets. The Ledger Nano S Plus Wallet can already score points with this. A security chip certified by CC EAL5+ should ensure the maximum security of your coins, tokens and NFTs in this case.
Ledger was already convincing in terms of security with the previous models. The Ledger Nano S Plus Wallet is in no way inferior to the Ledger Nano X Wallet in this aspect. In contrast to the Ledger Nano X Wallet, the Ledger Nano S Plus Wallet does not support Bluetooth. What may be a disadvantage for some is definitely a positive from a security perspective.
Instructions: how to Set up the Ledger Nano S plus Wallet
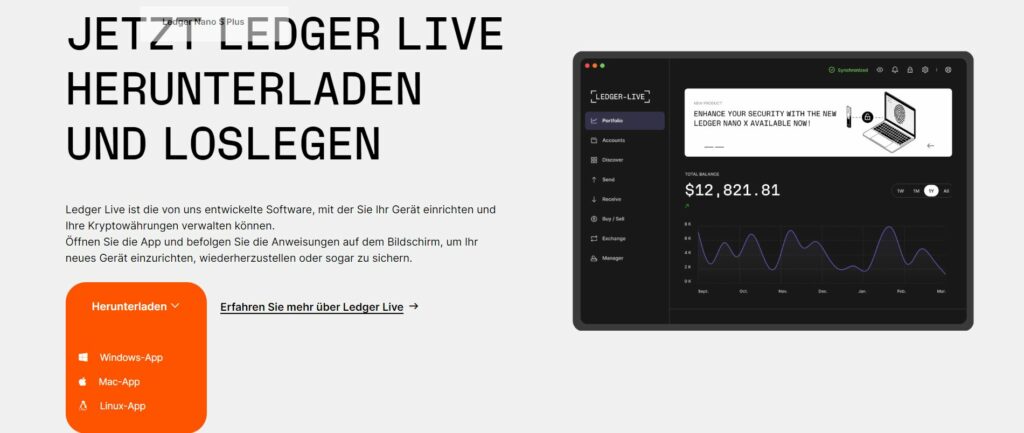
Setting up the Ledger Nano S Plus Wallet is actually not very complicated. A quick start guide included in the scope of delivery is already helpful. For the quick start, first go to the URL ledger.com/start and download the Ledger Live app. You will then be guided step by step through the setup process with instructions, so that even crypto beginners should be able to set up the hardware wallet without any problems. In the following, we will go into more detail about setting up the Ledger Nano S Plus Wallet:
- Connect the hardware wallet to your computer using a USB cable. A step-by-step guide will then appear directly on the Ledger’s display. There are two buttons on the top of the Ledger itself. With the left button you can go back one step in the instructions, with the right button you go one step forward. By pressing both buttons you make a selection, if necessary. By holding down both buttons you will be forwarded to the settings.
- Now select whether you want to configure the device again or whether you want to reconstruct an already active wallet (using the recovery seed).
- Then select a PIN code with 4 to 8 characters and repeat it. This will additionally secure your Ledger. The following applies here: the more characters your PIN has, the more secure it is.
- The recovery seed is now displayed to you. These are 24 words in a given order that are particularly important. The owner of the seed can access the wallet at any time. Three recovery sheets were included with the Ledger Nano S Plus Wallet. Write down the 24 words shown on this. Important: Keep the recovery seed safe and, above all, not digitally. It should also be protected from water damage, theft and fire. The recovery seed is the only backup and therefore the only way to access the coins, for example if the hardware wallet is lost.
- At the end, you will be asked to confirm the recovery seed again for security reasons. Fortunately, you don’t have to write down the individual terms yourself, but you can choose the words in the correct order from a list.
Ledger Live Installation and Setup
In order to be able to use the Ledger for transactions afterwards, start by installing the Ledger Live app. To do this, open the URL at ledger.com/start.
In the following, we will go through the individual steps together with you to create a Bitcoin account.
Ledger First Steps & Model Selection
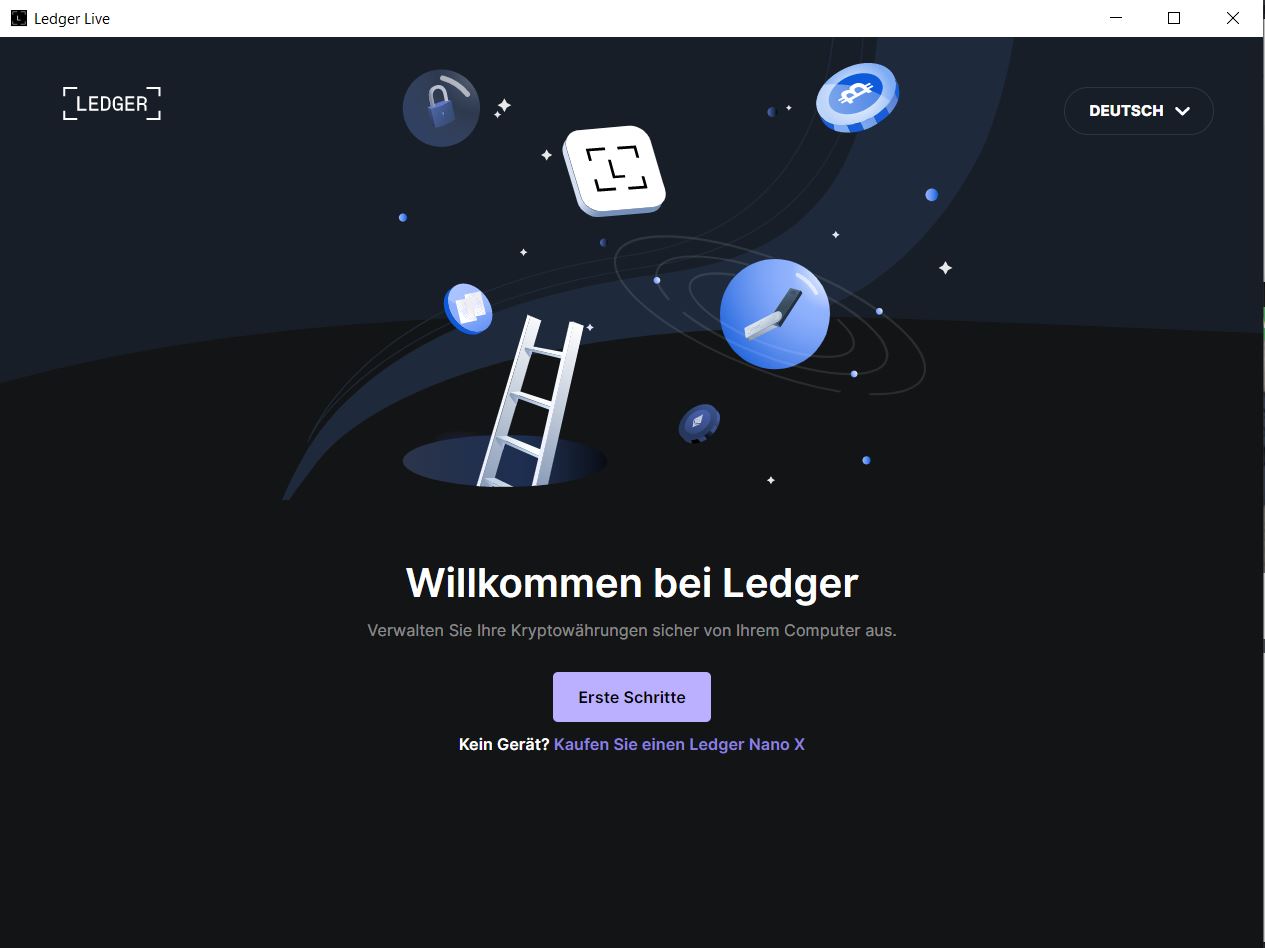
After the successful installation you will see the following start screen. After clicking on “First steps you only have to agree to the General Terms and Conditions (GTC).
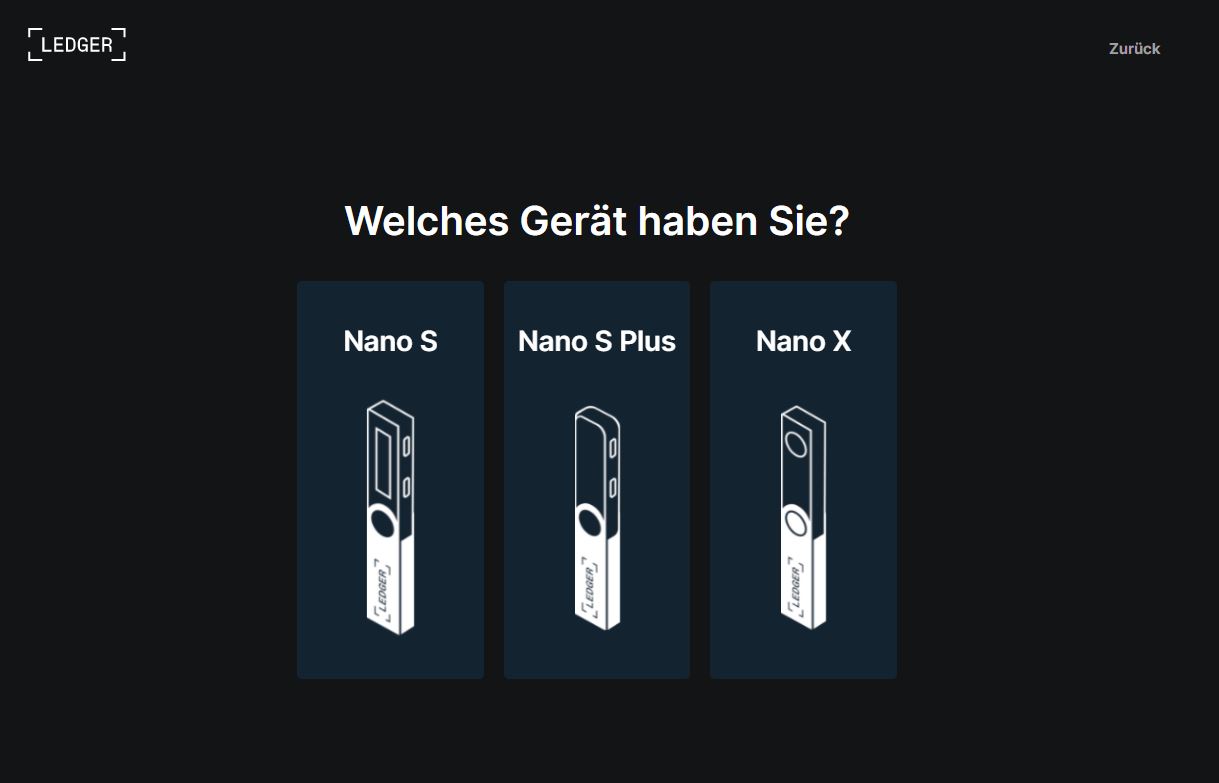
Then select the Ledger to be configured. When using the Ledger Nano S Plus, make sure that you have connected it, as the Ledger model does not have a Bluetooth function.
Ledger Authenticity Check
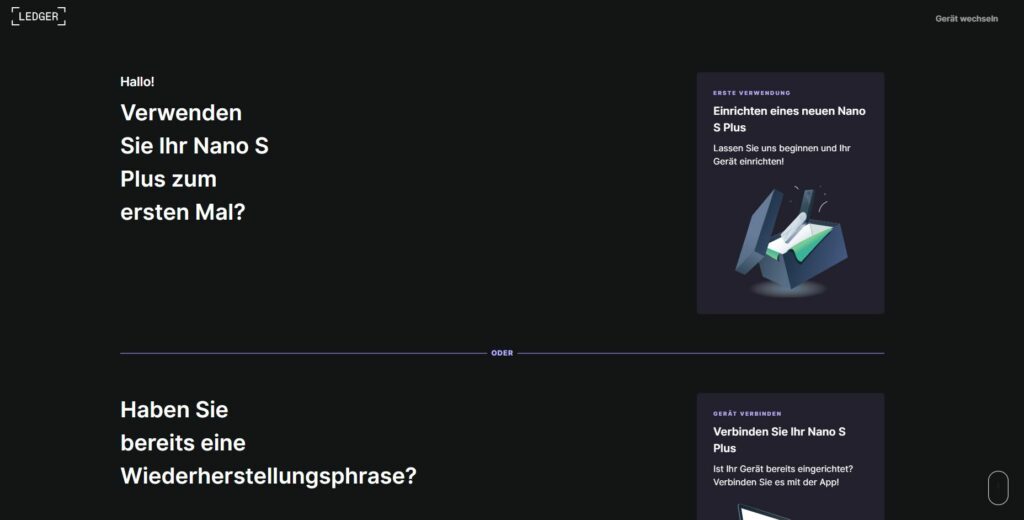
In the next step, select whether you are setting up the Ledger for the first time or have already set it up. If you have followed our instructions from the previous section, you have already set up the Ledger and can therefore select the second part (Do you already have a recovery phrase?).
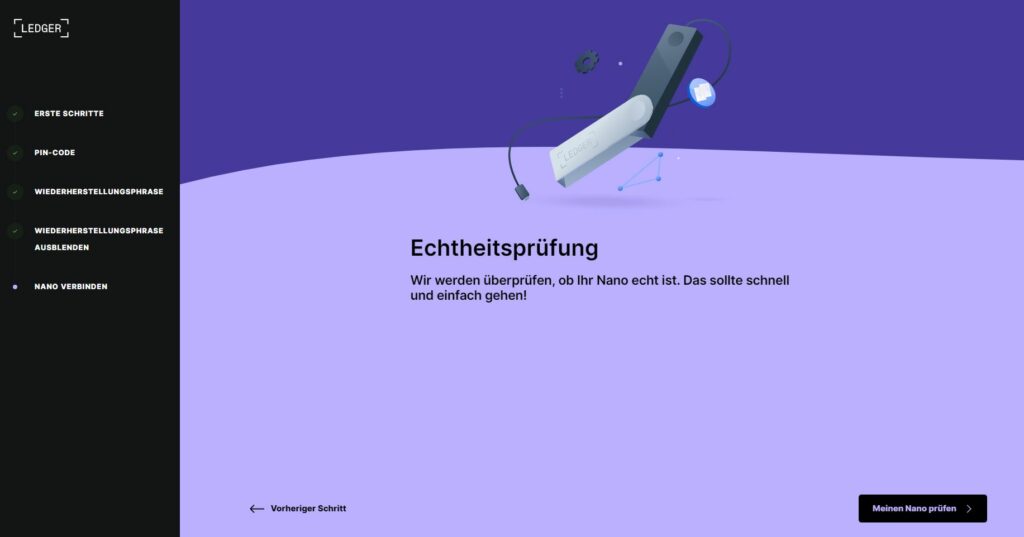
Now the software wants to check whether the connected Ledger is really genuine in order to guarantee the security of the users.
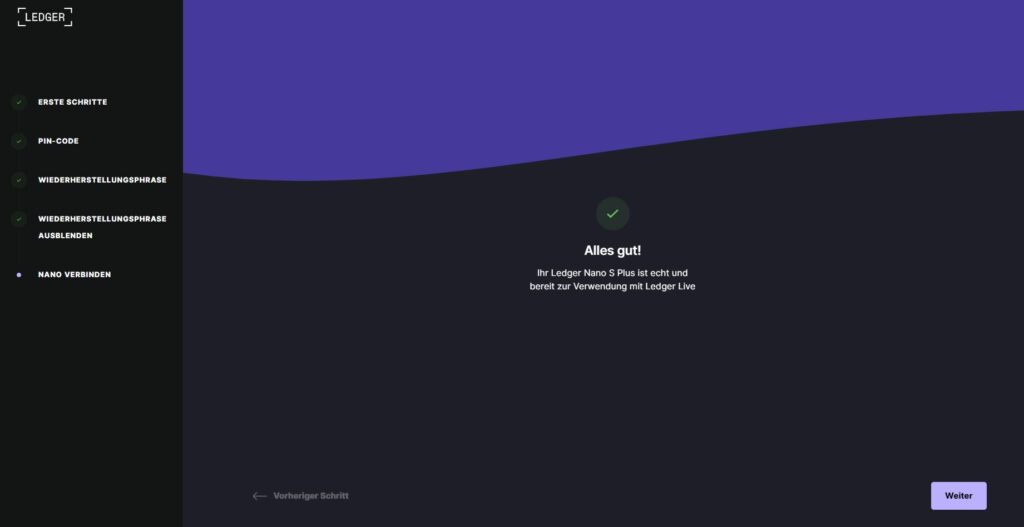
In our case, everything went smoothly. Make sure that you always buy Ledger from reputable providers. Avoid buying on Ebay classifieds.
Set up a Bitcoin Account for the Ledger
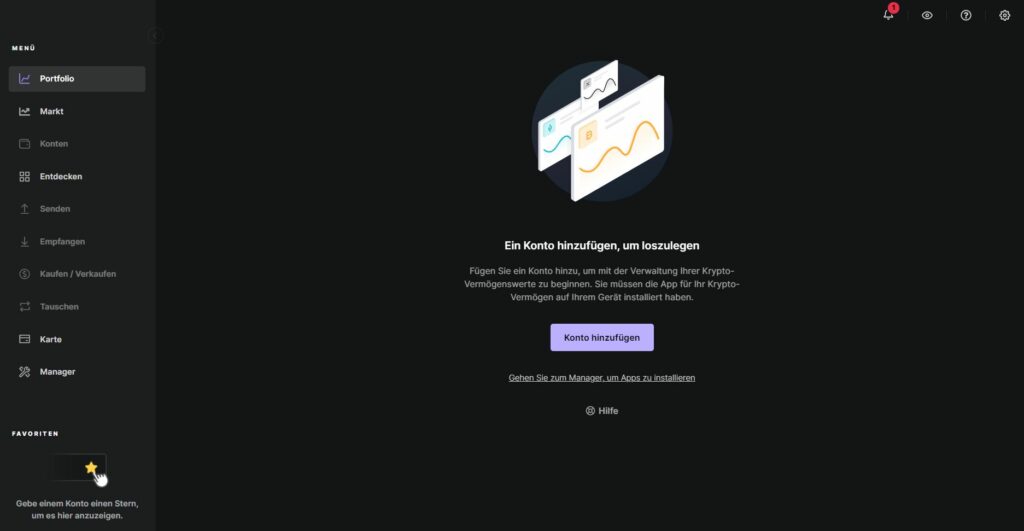
Now you can access the Ledger Live interface. However, many menu items are still grayed out. This is because no account has been set up yet. We start this process by clicking on “Add account”.
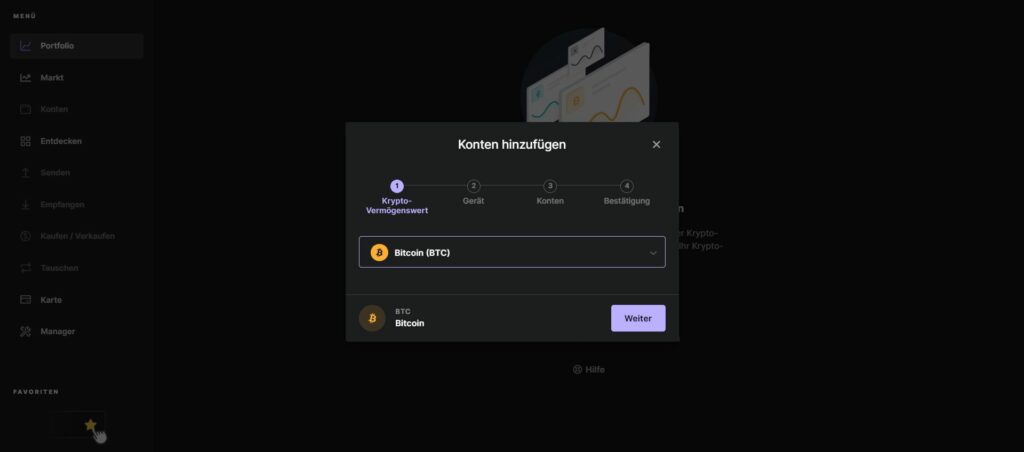
In this step, select the cryptocurrency for which you want to create an account from the numerous cryptocurrencies.
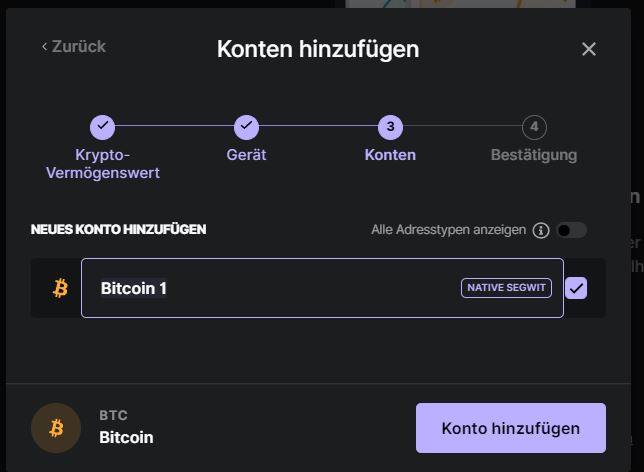
In the next step, the software connects to your Ledger. After the configuration, the lettering “Bitcoin is ready” appears on your Ledger, while you can now also access the complete Ledger Life interface.
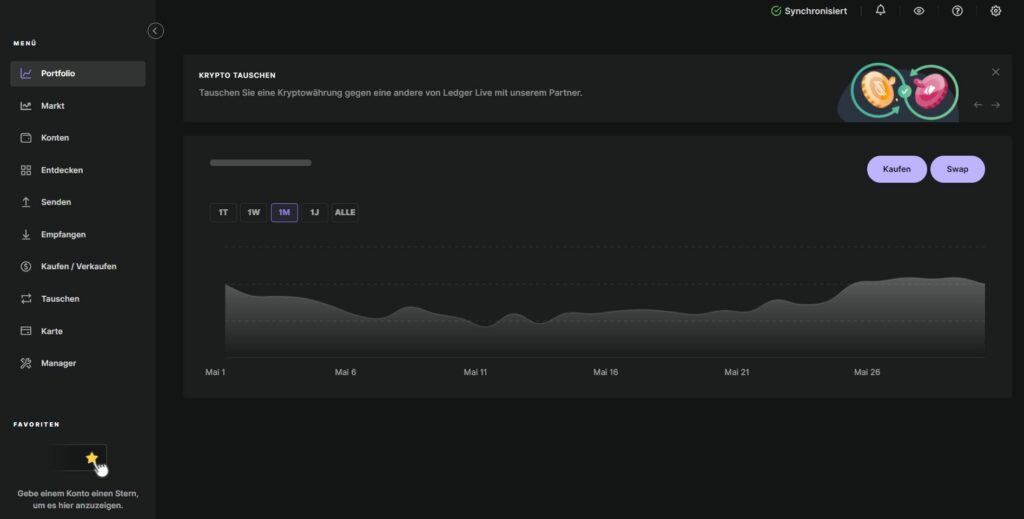
Now you can use your Ledger Nano S Plus without restrictions.
Conclusion
The Ledger Nano S Plus Wallet is designed for up to 100 apps. You can also store more than 5000 digital assets. Together with the simple handling and setup, Ledger is once again bringing a good model to the market. Especially when comparing it to the Ledger Nano S Wallet, there are significant improvements to be seen, with I especially consider the larger display to be a simple but very practical change. Over time, we will continue to report on our experiences with the hardware wallet and continuously expand this article for you.